Welcome to the Honeywell T4 Thermostat Manual, your comprehensive guide to understanding and utilizing the full potential of your T4 thermostat. This manual is designed to help you navigate installation, programming, and troubleshooting, ensuring optimal performance and energy efficiency for your home’s heating and cooling systems. Explore features like scheduling, optimization modes, and advanced settings to customize your comfort experience.
Overview of the Honeywell T4 Thermostat
The Honeywell T4 Thermostat is a programmable device designed for efficient control of residential heating and cooling systems. Available in models like the T4, T4R (wireless), and T4M (modulating), it offers customizable scheduling and advanced features. The T4 Pro is a state-of-the-art option with an intuitive interface, supporting single-stage and modulating systems. It features a 7-day programmable schedule and compatibility with OpenTherm boilers (T4M only). The thermostat includes a UWP Mounting System, decorative cover plate, and battery operation (T4 and T4R). Its compact design and energy-saving capabilities make it a versatile choice for modern homes. This manual provides detailed guidance for installation, programming, and troubleshooting to ensure optimal performance and comfort.
Importance of the T4 Thermostat Manual
Importance of the T4 Thermostat Manual
The T4 Thermostat Manual is an essential resource for optimizing your Honeywell T4, T4R, or T4M thermostat. It provides clear instructions for installation, programming, and troubleshooting, ensuring proper setup and functionality. The manual helps users understand advanced features like OpenTherm boiler alerts, optimization modes, and programmable schedules, enabling maximum energy efficiency and comfort. By following the guide, you can customize settings to suit your lifestyle and avoid common issues. It also offers troubleshooting tips to resolve problems quickly, such as blank screens or low battery alerts. Referencing the manual ensures you unlock all features and maintain your system’s performance, making it indispensable for both new and experienced users.

Installation and Setup
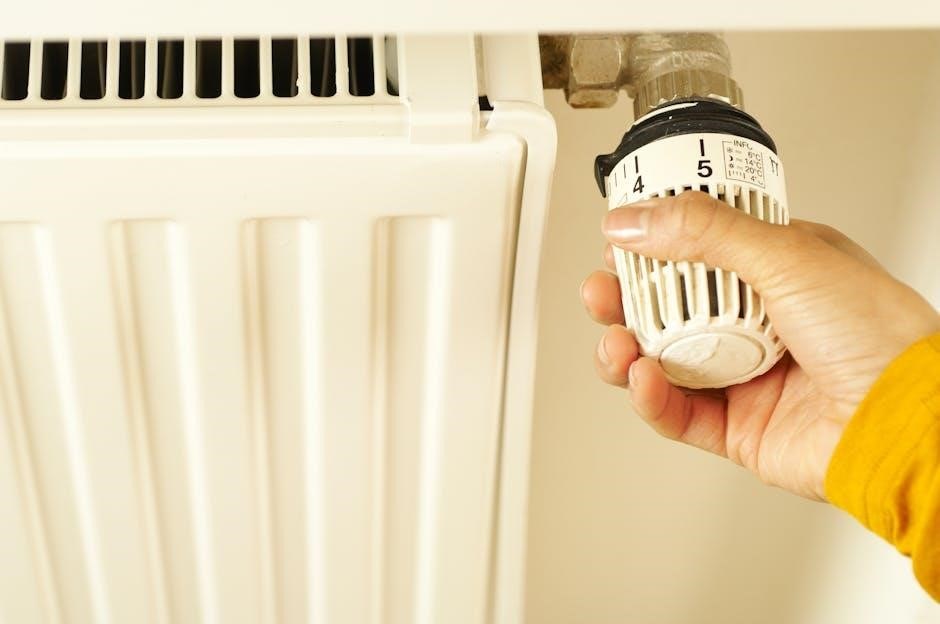
The Honeywell T4 Thermostat installation process is straightforward, requiring the UWP Mounting System and compatibility checks. Ensure proper wiring and power setup for optimal performance and efficiency.
Understanding the UWP Mounting System
The UWP (Universal Wall Plate) Mounting System is a key component of the Honeywell T4 Thermostat installation, ensuring a secure and neat setup. It is designed to fit various wall types and configurations, making it versatile for different homes. The system includes a wall plate and screws, simplifying the mounting process; Proper alignment and leveling of the UWP system are crucial to ensure the thermostat operates accurately. The decorative cover plate adds a sleek finish, protecting the wiring and enhancing the device’s appearance; Following the manual’s guidelines ensures a professional-grade installation, preventing potential issues with sensor accuracy and system performance.
Compatibility and Installation Requirements
The Honeywell T4 Thermostat is compatible with a wide range of heating and cooling systems, including gas, oil, and heat pumps, ensuring versatility for various home setups. Installation requires a C-wire (common wire) for proper functionality, though certain models like the T4R offer wireless operation, eliminating the need for a wired connection. The thermostat supports single-stage and multi-stage systems, providing flexibility for different configurations. For power, the T4 Pro uses 2 AA batteries, while other models may rely on a wired power source. Ensure compatibility with your HVAC system before installation and follow the manual’s guidelines for a seamless setup. Proper installation ensures accurate temperature control and optimal performance.

Power Options for the T4 Thermostat
The Honeywell T4 Thermostat offers flexible power options to suit different setups. The T4 and T4R models are battery-powered, using 2 AA batteries for wireless operation, eliminating the need for a wired connection. However, other models may require a C-wire (common wire) for continuous power, ensuring reliable performance without battery replacements. Battery-powered units are ideal for installations where wiring is inconvenient, while C-wire models provide consistent energy for advanced features. Ensure your system meets these power requirements for optimal functionality. Proper power setup guarantees smooth operation and prevents issues like blank screens or incomplete functionality.

Programming and Scheduling
Set up custom heating and cooling schedules to optimize energy efficiency and comfort. The T4 thermostat allows programmable modes and features like Schedule Override for flexibility.
Setting Up the Heating Schedule

To create a heating schedule on your Honeywell T4 thermostat, press the center button to access the menu. Use the navigation arrows to select the day(s) and time periods you wish to program. Choose your desired temperature setpoints for each period. For example, set a lower temperature when you’re asleep or away and a higher temperature when you’re home. Once your schedule is set, press “Save” to confirm. This feature allows you to optimize energy usage while maintaining comfort. You can also override the schedule temporarily using the “Away” mode or adjust setpoints manually for flexibility. Regularly reviewing and updating your schedule ensures it aligns with your lifestyle and preferences. This helps in achieving energy efficiency and consistent heating performance throughout your home.
Navigating the Menu and Navigation Icons
Navigating the Honeywell T4 thermostat menu is straightforward, thanks to its intuitive interface. Press the center button to access the main menu, where you can scroll through options using the navigation arrows. Key icons include the clock for scheduling, the lock for keypad settings, and the gear for advanced features. Select an option by pressing “OK.” To move back, press the return arrow. The home screen displays current temperature, setpoint, and system mode. Use the up and down arrows to adjust settings like temperature and time. The menu is divided into sections such as “Heating Schedule,” “Clock,” and “Optimization.” Familiarize yourself with these icons to efficiently customize your thermostat settings and ensure optimal performance. Refer to the Honeywell T4 manual for detailed explanations of each icon and its function.
Programmable Modes: Auto, Heat, Cool, Off
The Honeywell T4 thermostat offers four programmable modes to meet your comfort needs: Auto, Heat, Cool, and Off. In Auto mode, the thermostat automatically switches between heating and cooling to maintain your set temperature. Heat mode activates the heating system to warm your space, while Cool mode engages the cooling system to keep it cool. Off mode turns off heating and cooling but retains fan operation if needed. These modes allow you to customize your comfort settings efficiently. Use the menu to select the desired mode, ensuring optimal energy use and personalized comfort. The T4 thermostat’s intuitive interface makes it easy to switch modes and adjust settings to suit your lifestyle and preferences. This feature enhances energy efficiency while maintaining consistent indoor temperatures.
Schedule Override and Away Mode

The Honeywell T4 thermostat offers convenient features like Schedule Override and Away Mode to enhance flexibility and energy savings. Schedule Override allows you to temporarily adjust your heating or cooling schedule without changing the main program. This is ideal for unexpected changes in your daily routine. Away Mode lets you set a different temperature when you’re not home, helping to reduce energy consumption. Both features can be easily accessed through the thermostat’s menu or navigation icons. Use these modes to optimize your comfort and energy efficiency without compromising on control. The T4 thermostat’s intuitive design makes it simple to activate these settings, ensuring your home remains comfortable while saving on energy costs. These features are perfect for balancing convenience and efficiency in your daily life.
System Operation and Features
The Honeywell T4 thermostat delivers advanced system operation with modes like Auto, Heat, Cool, Off, and Emergency Heat. It also features OpenTherm boiler alerts for optimal performance and energy efficiency, ensuring your home remains comfortable while minimizing energy usage.
System Operation Settings: Auto, Heat, Cool, Off, Em. Heat
The Honeywell T4 thermostat offers versatile system operation settings to meet your comfort needs. The Auto mode automatically switches between heating and cooling based on the set temperature. Heat mode activates the heating system to maintain warmth, while Cool mode engages the cooling system to keep your home cool. The Off mode disables both heating and cooling, useful when the system is not needed. Additionally, the Emergency Heat (Em. Heat) setting provides auxiliary heat when the main heating system fails, ensuring your home remains comfortable. These settings allow you to customize your home’s temperature control, optimizing energy efficiency and comfort throughout the year.

Advanced Features: OpenTherm Boiler Alerts (T4M only)
The T4M model of the Honeywell T4 thermostat features OpenTherm boiler alerts, an advanced capability designed to enhance your heating system’s performance. This feature enables seamless communication between the thermostat and your OpenTherm-compatible boiler, providing real-time updates and alerts. It ensures optimal modulation of boiler output, improving energy efficiency and system reliability. With OpenTherm, the thermostat can dynamically adjust heat levels, reducing energy waste and extending boiler lifespan. Additionally, it sends notifications for system issues, allowing prompt troubleshooting. This feature is exclusive to the T4M model and is a significant upgrade for users with compatible boilers, offering enhanced control and peace of mind.
Optimization and Standby Mode
The Honeywell T4 thermostat includes an optimization feature that learns your system’s heating and cooling patterns to maximize efficiency. This intelligent technology ensures your system operates only when necessary, minimizing unnecessary cycles and saving energy. Additionally, the thermostat offers a standby mode that reduces power consumption by dimming or turning off the display when not in use. This mode helps conserve battery life, especially in models that rely on battery power. When in standby, the thermostat remains functional and can be activated with a button press, providing a balance between energy savings and convenience. These features work together to enhance both performance and energy efficiency, making the T4 a smart choice for modern homes.

Maintenance and Troubleshooting
Regularly check and replace batteries to ensure smooth operation. Clean the display and sensors for accurate temperature readings. Refer to the manual for resetting or troubleshooting common issues like blank screens or connectivity problems.

Troubleshooting Common Issues
Experiencing issues with your Honeywell T4 Thermostat? Start by checking the basics. If the screen is blank, replace the batteries or ensure proper wiring. For models requiring a C-wire, verify it’s connected correctly. If the system doesn’t power on, inspect the circuit breaker or fuse. Check the OpenTherm boiler connection for T4M models. Incorrect date or time settings can disrupt scheduling, so sync them with your current timezone. If problems persist, perform a factory reset by holding the center button for 10 seconds. Always refer to the manual for detailed diagnostic steps and solutions to restore functionality efficiently.
Resetting the Honeywell T4 Thermostat

Resetting the Honeywell T4 Thermostat is a straightforward process designed to restore default settings. To perform a factory reset, press and hold the center button for approximately 10 seconds until the display clears. This action will erase all custom configurations, including schedules and preferences. After resetting, the thermostat will revert to its default settings, and you will need to reconfigure it. Note that the heating schedule will not be deleted during this process. If issues persist after resetting, ensure proper wiring and power connections. For persistent problems, consult the manual or contact a professional for assistance. Resetting is a useful troubleshooting step to resolve configuration-related issues.